Services
Before & After
Products
Chemicals
Pool / Hot Tub Accessories
Pool / Hot Tub Equipment
Specialty Products
About Us
Projects
Contact
Before and After Comparisons
Photo Gallery
back
|
6
to
10
of
10
1
2
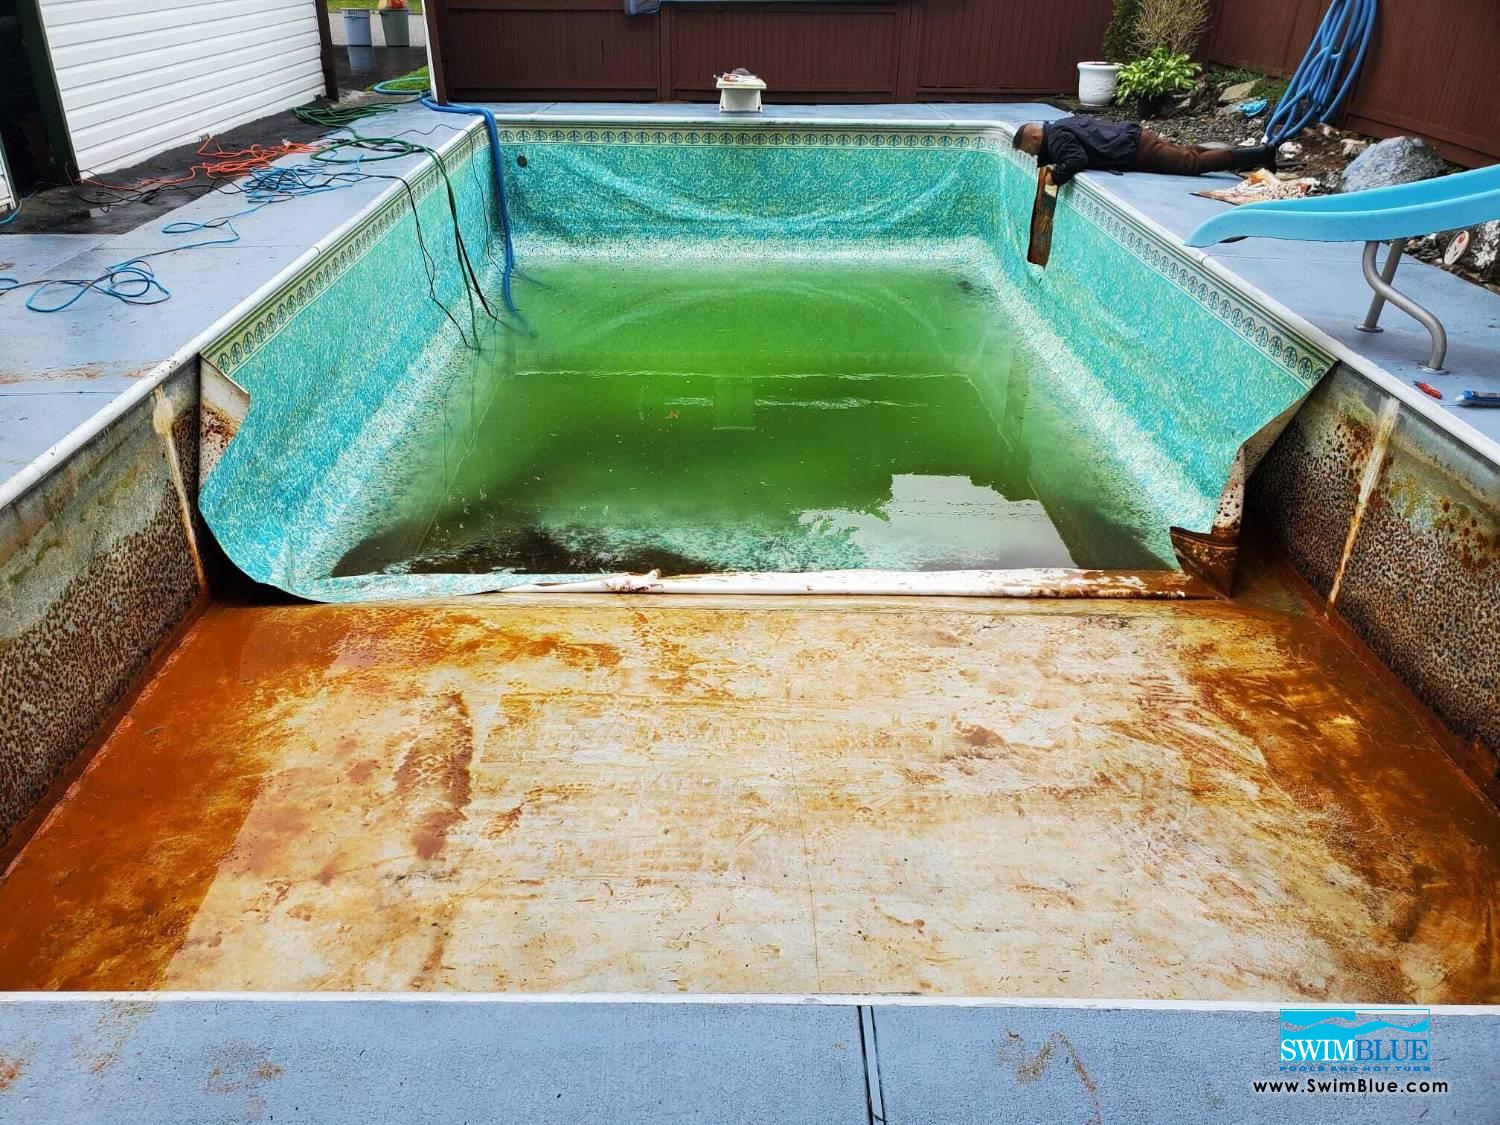
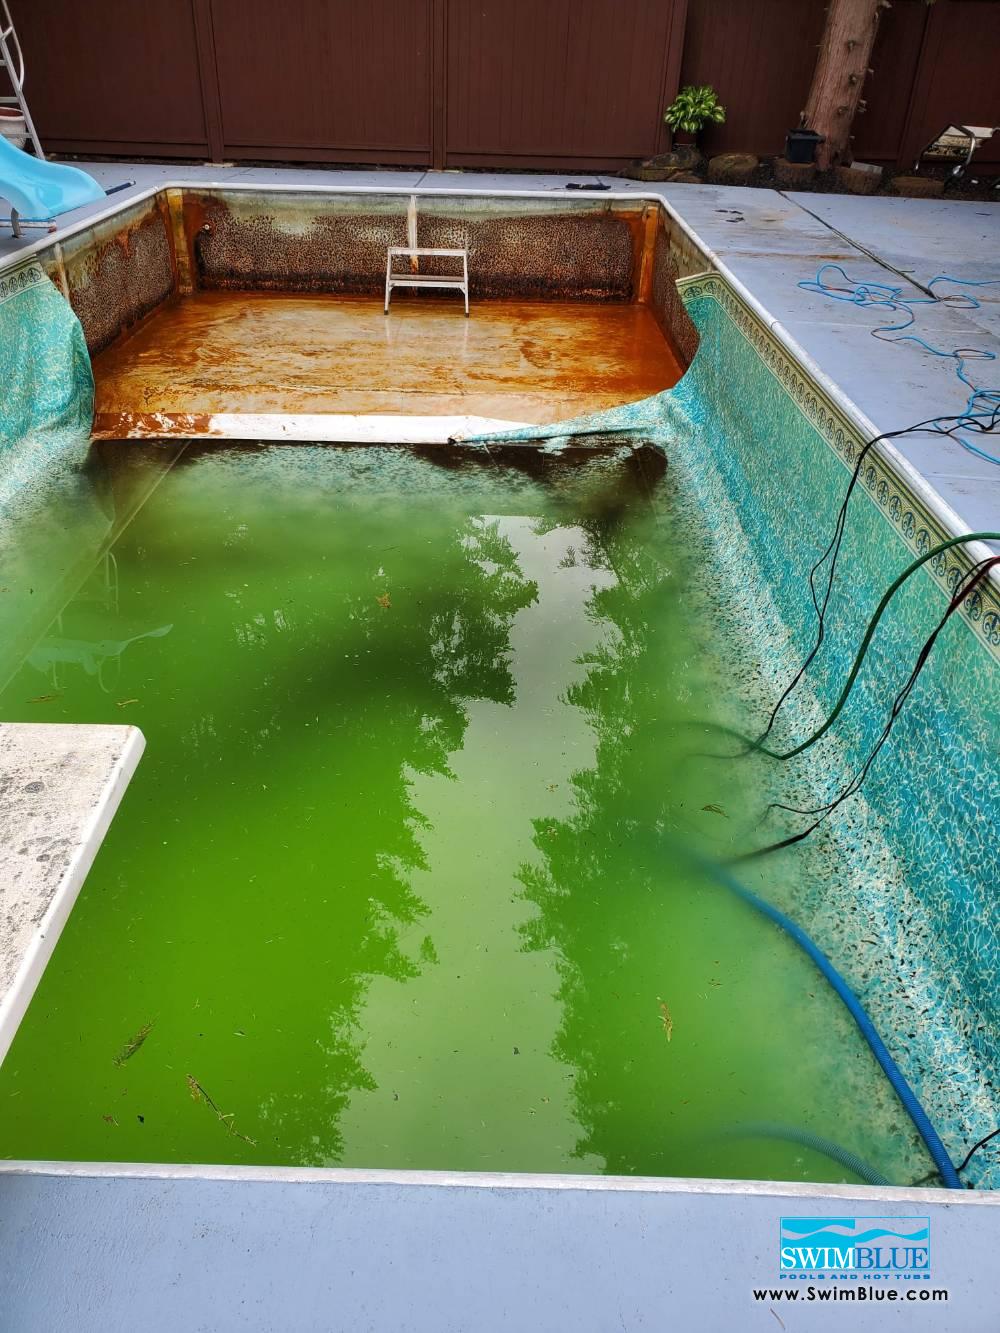
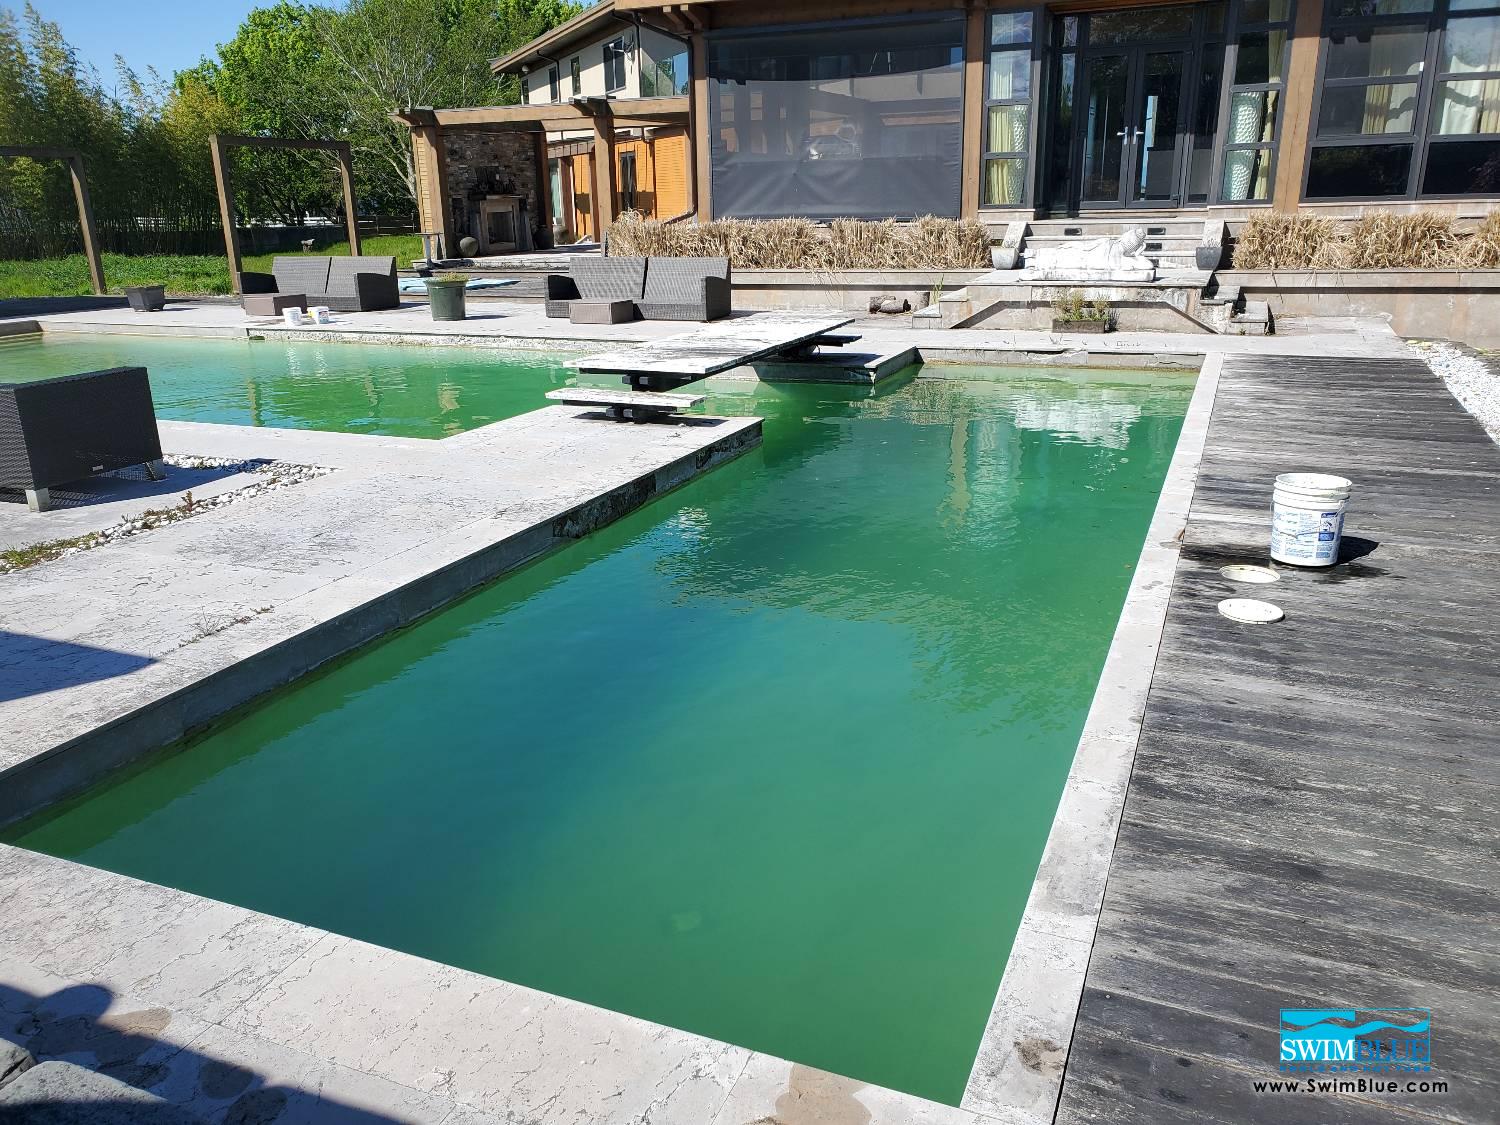
BEFORE
Pools & Hot Tubs Cleaning, Maintenance & Repair Services
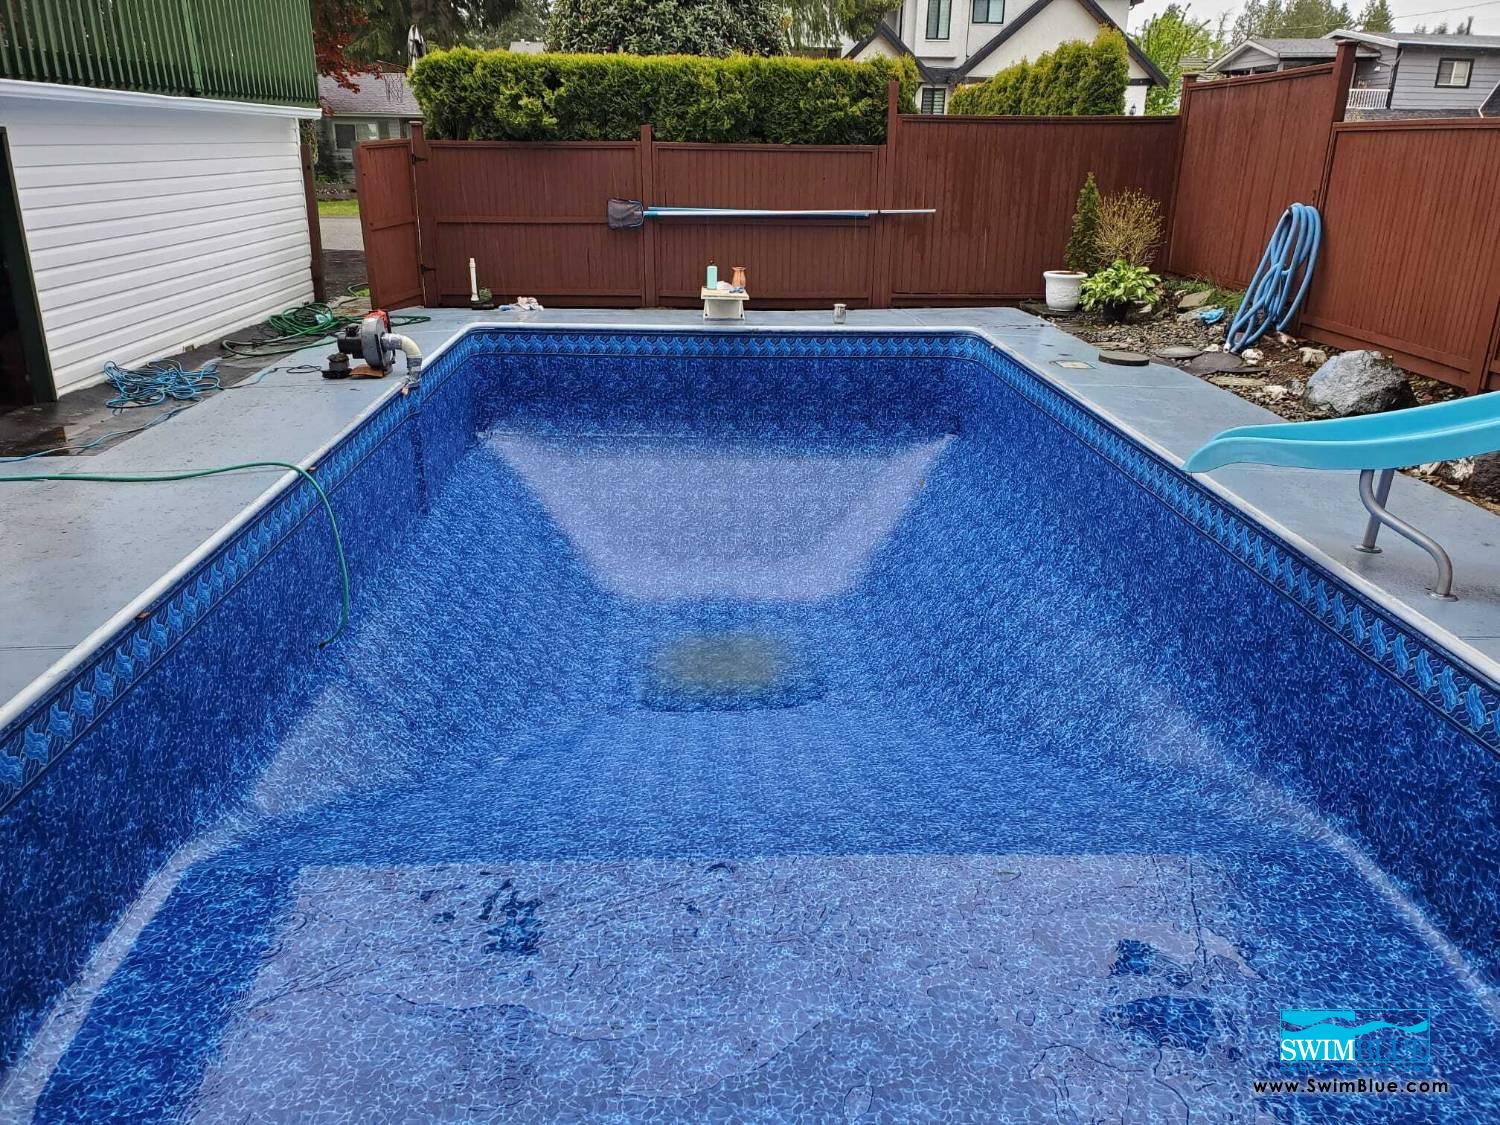
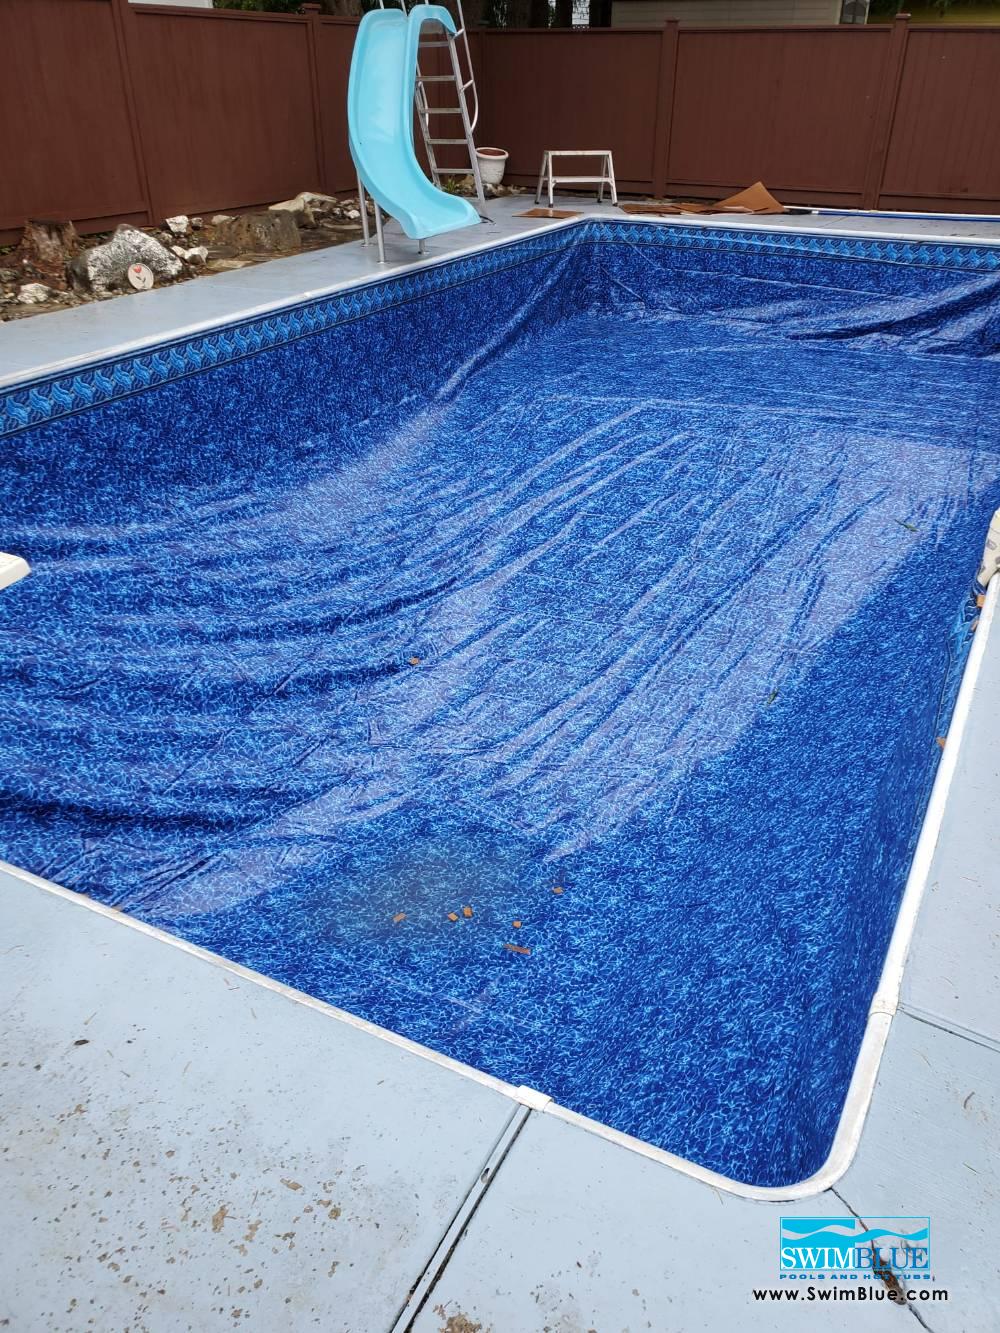
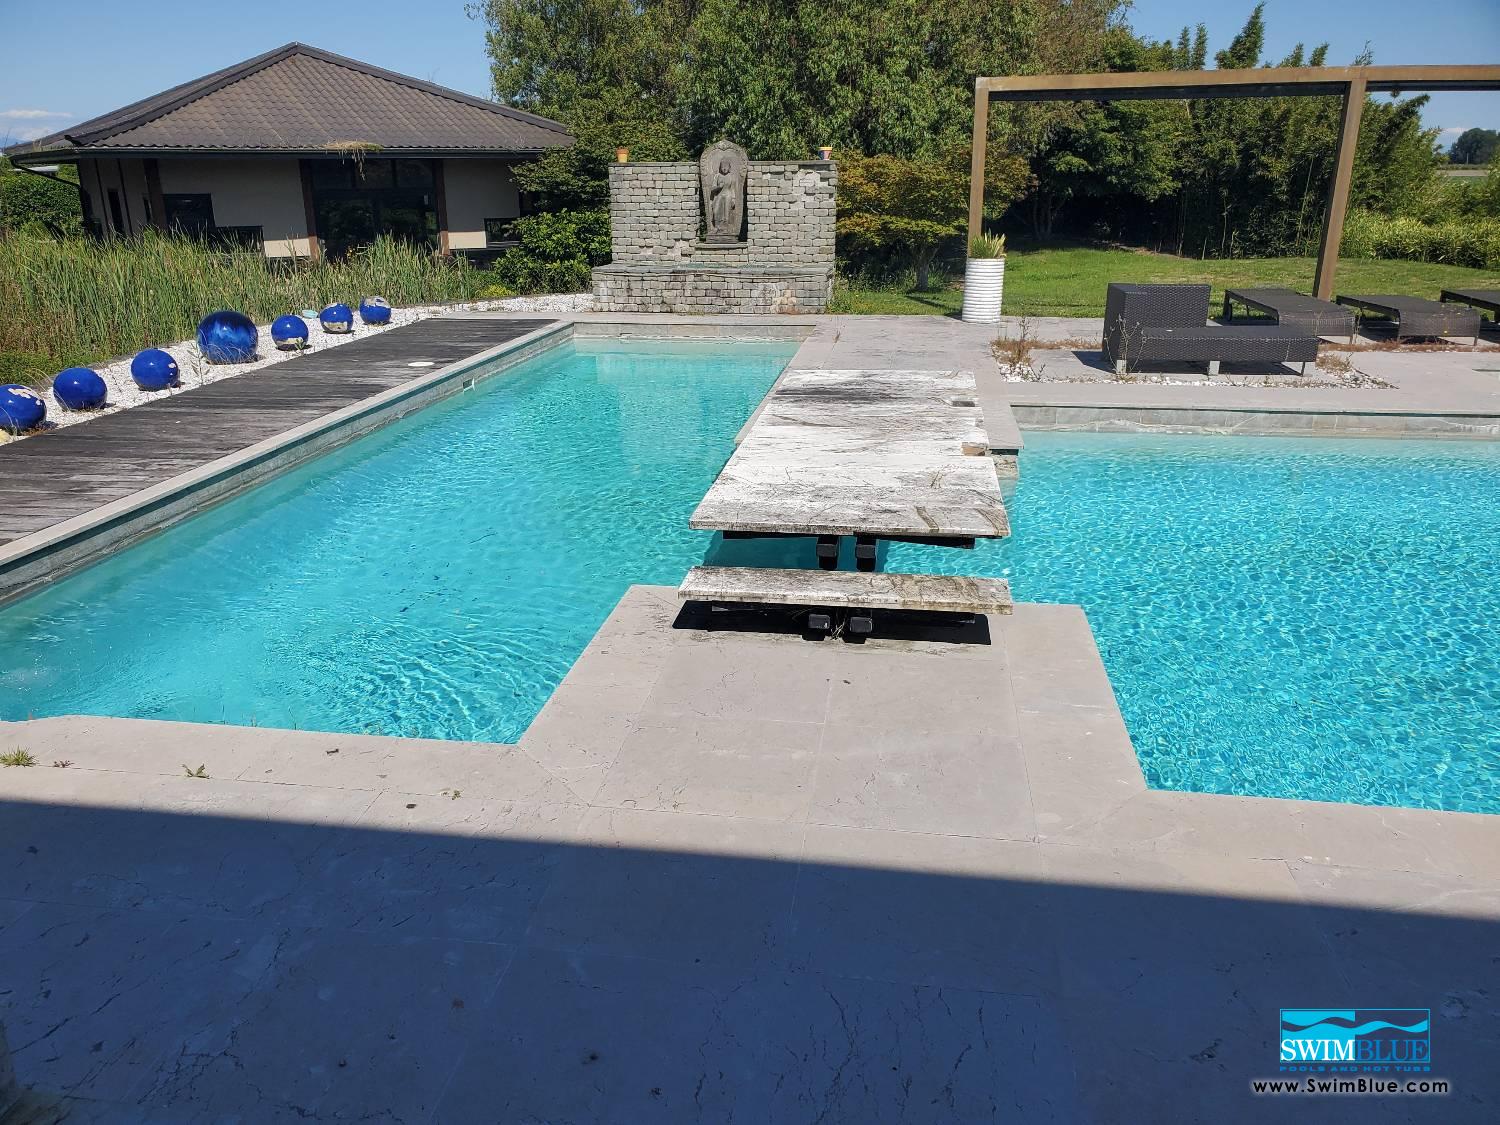
AFTER
Pools & Hot Tubs Cleaning, Maintenance & Repair Services
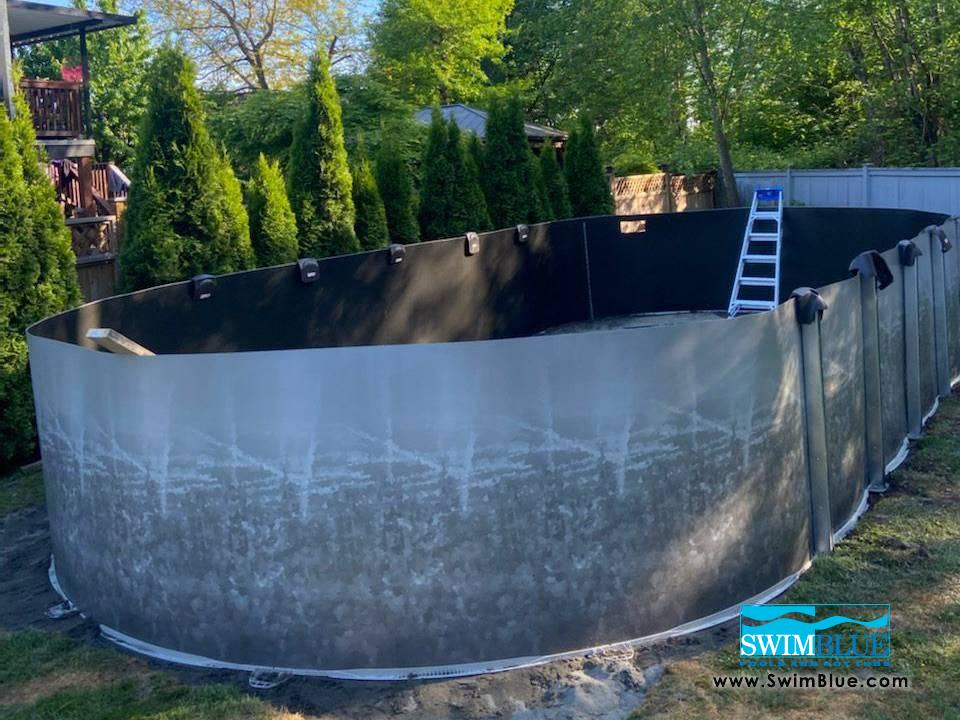
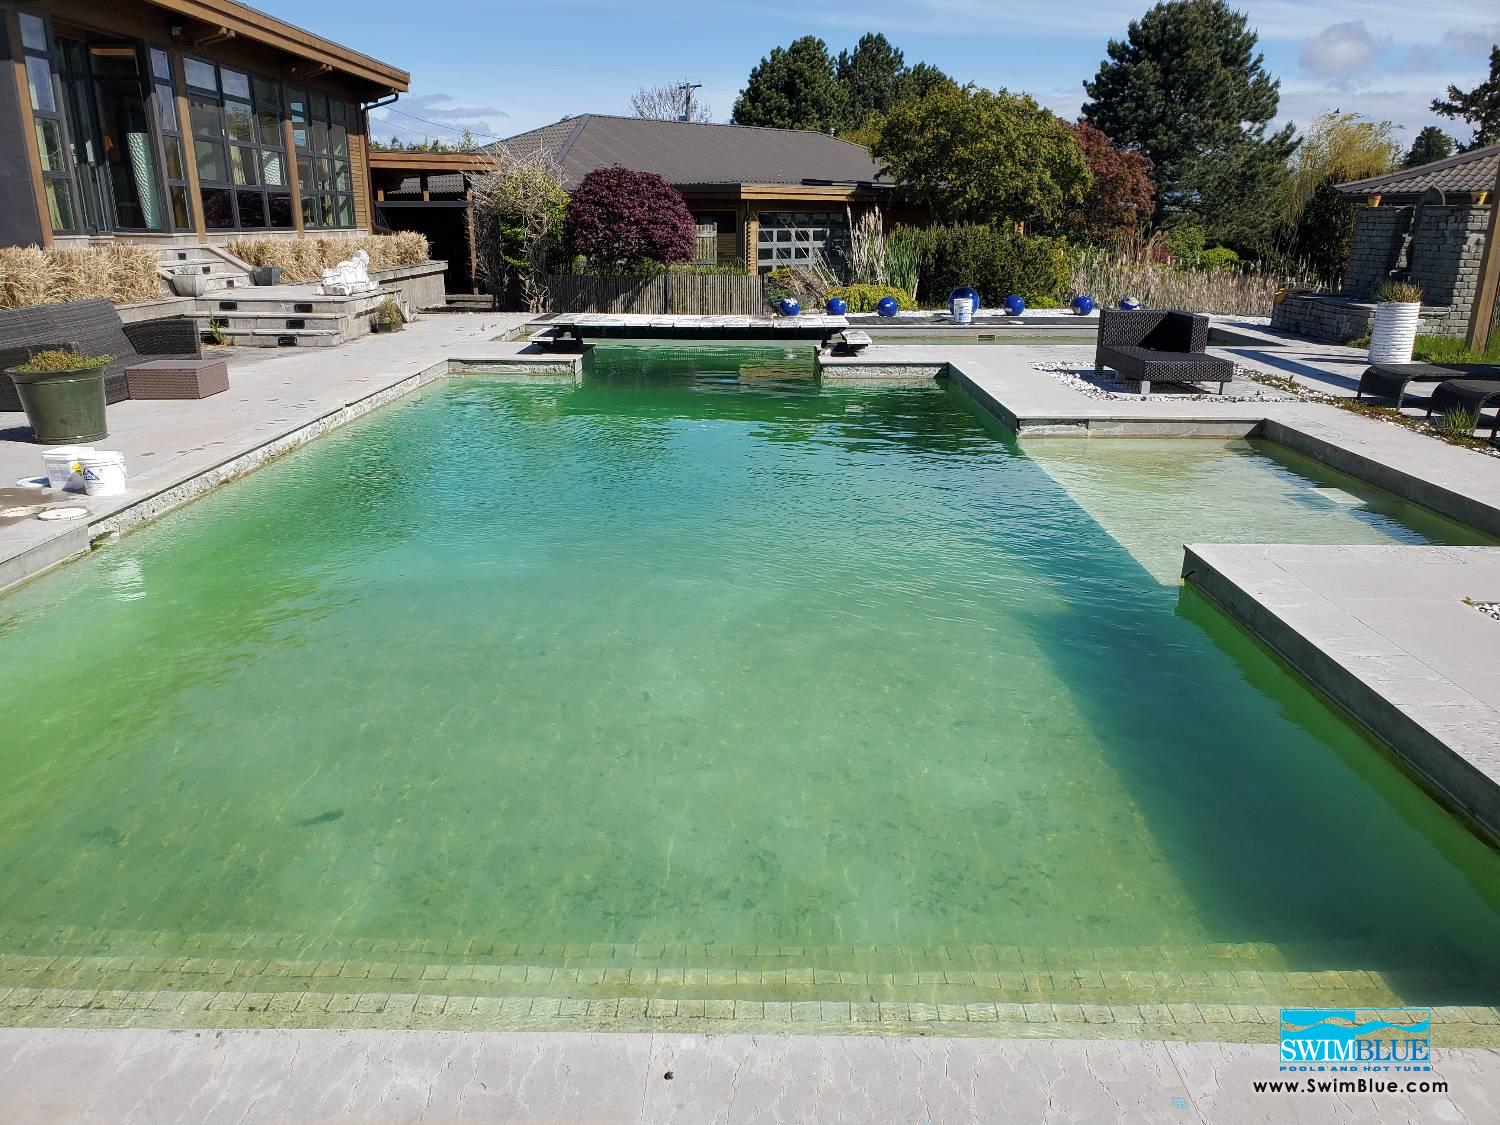
BEFORE
Pools & Hot Tubs Cleaning, Maintenance & Repair Services
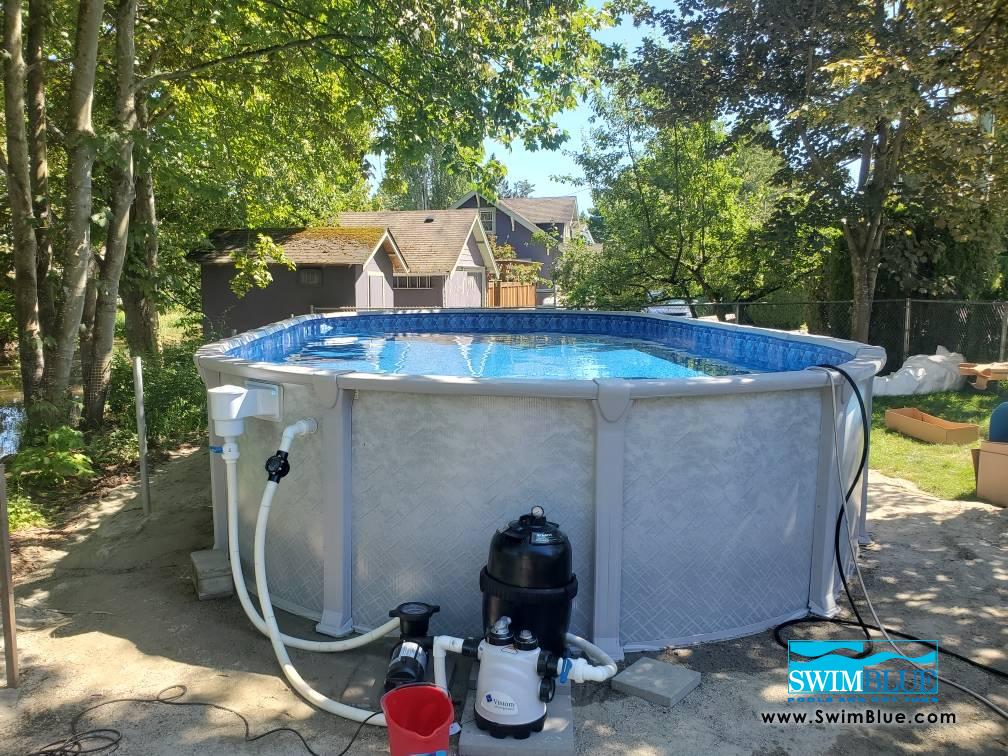
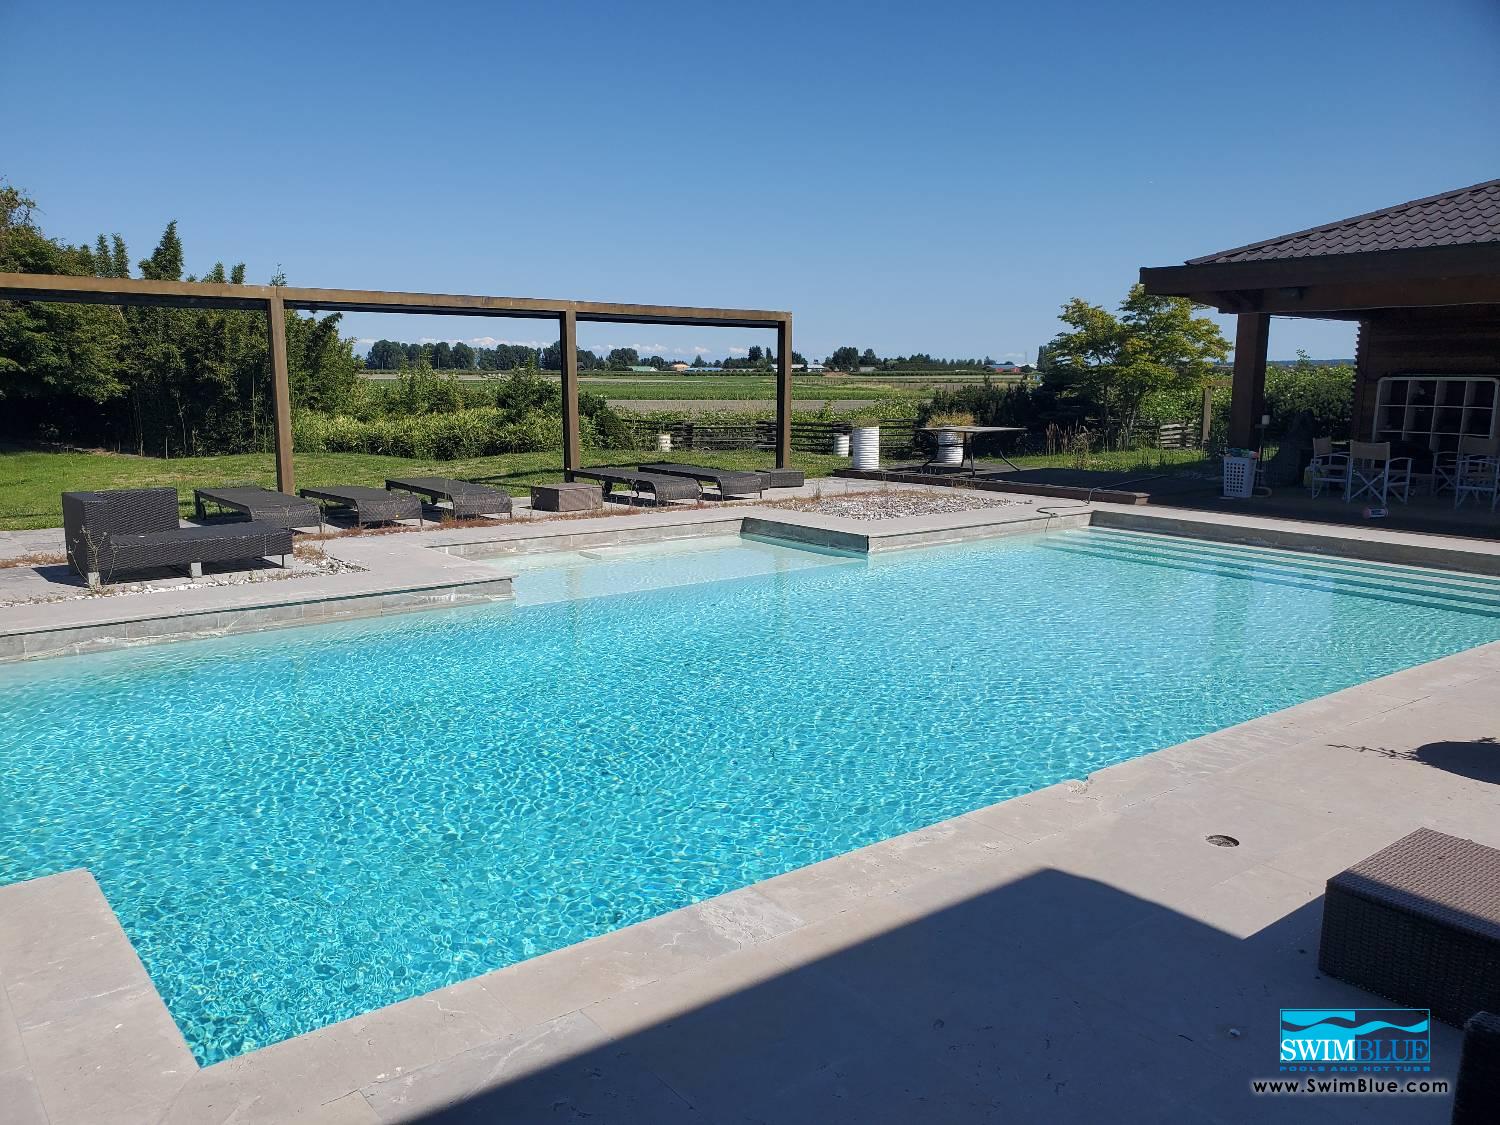
AFTER
Pools & Hot Tubs Cleaning, Maintenance & Repair Services
BEFORE
Pools & Hot Tubs Cleaning, Maintenance & Repair Services
AFTER
Pools & Hot Tubs Cleaning, Maintenance & Repair Services
BEFORE
Pools & Hot Tubs Cleaning, Maintenance & Repair Services
AFTER
Pools & Hot Tubs Cleaning, Maintenance & Repair Services
BEFORE
Pools & Hot Tubs Cleaning, Maintenance & Repair Services
AFTER
Pools & Hot Tubs Cleaning, Maintenance & Repair Services
back
|
6
to
10
of
10
1
2
Welcome
Thank you for visiting our site.
Swim Blue Pools & Hot Tubs
Close